The first time you sign in as the account owner, Bizdivers walks you through a six-step setup wizard. Three steps are required; the rest you can skip and come back to later. Here's what each one does.
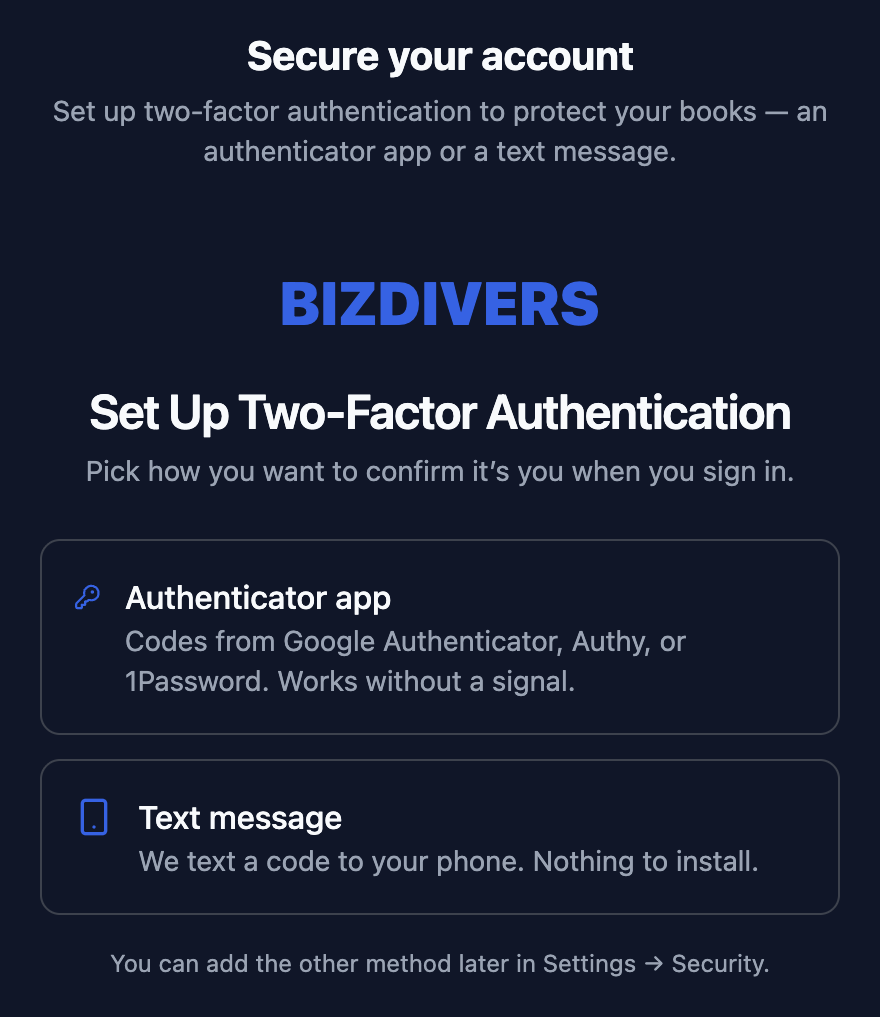
Step 1: Secure your account
Set up two-factor authentication to protect your books. You can use an authenticator app or a code sent by text message. This step is required. Your financial data deserves a lock on the door.
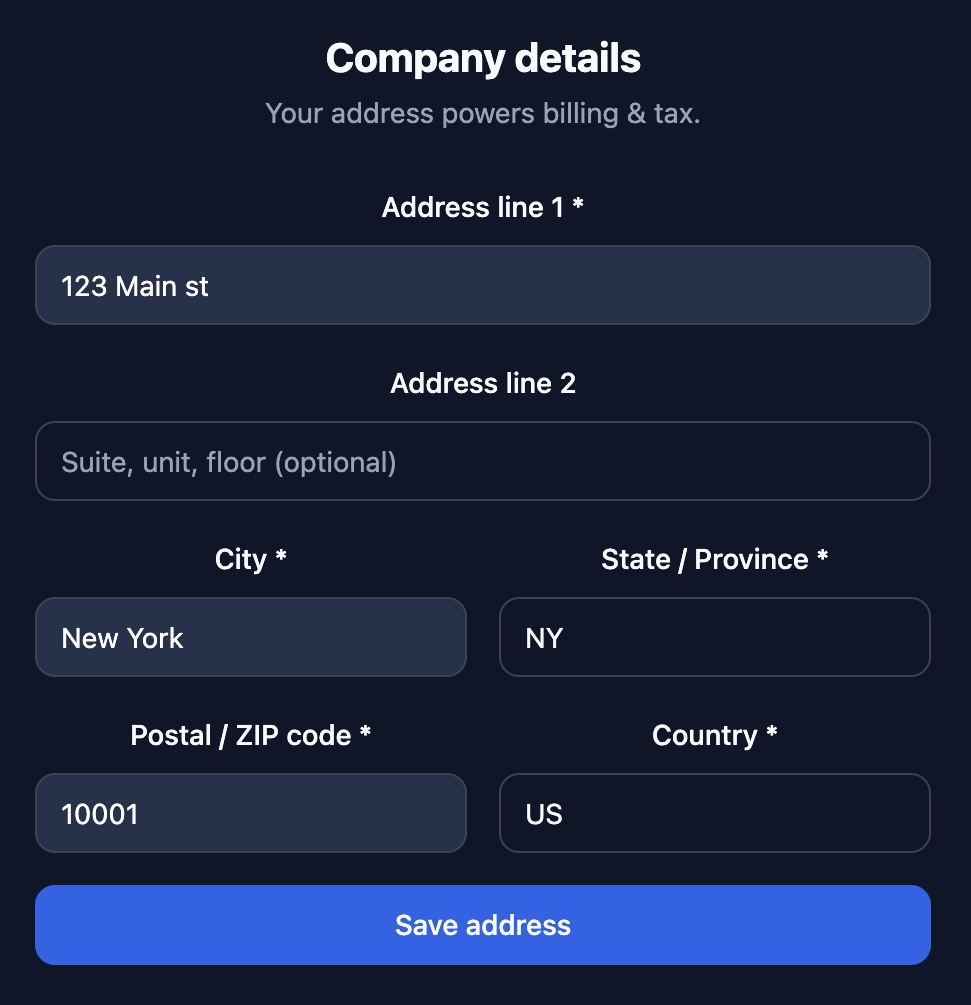
Step 2: Company details
Enter your company's legal name and address. Your address powers billing and tax, so it needs to be accurate.
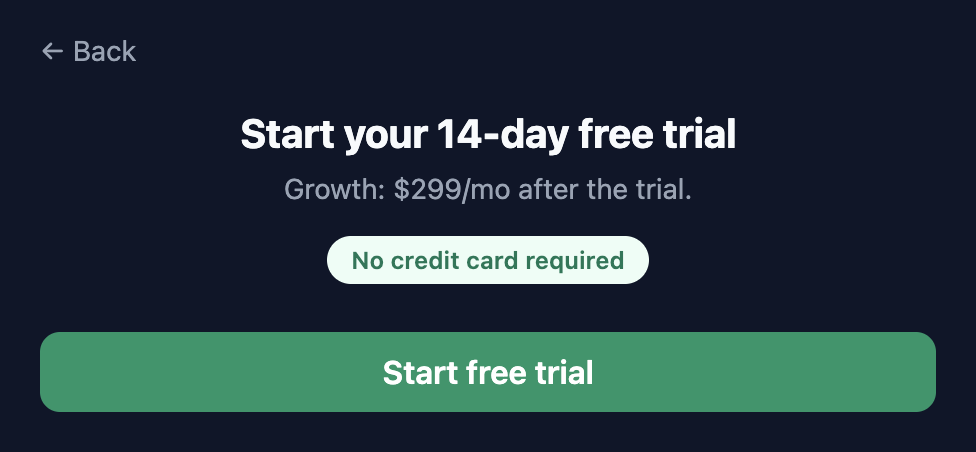
Step 3: Start your free trial
Click Start free trial to begin your 14-day trial. No credit card required, and you won't be charged anything until you decide to subscribe.
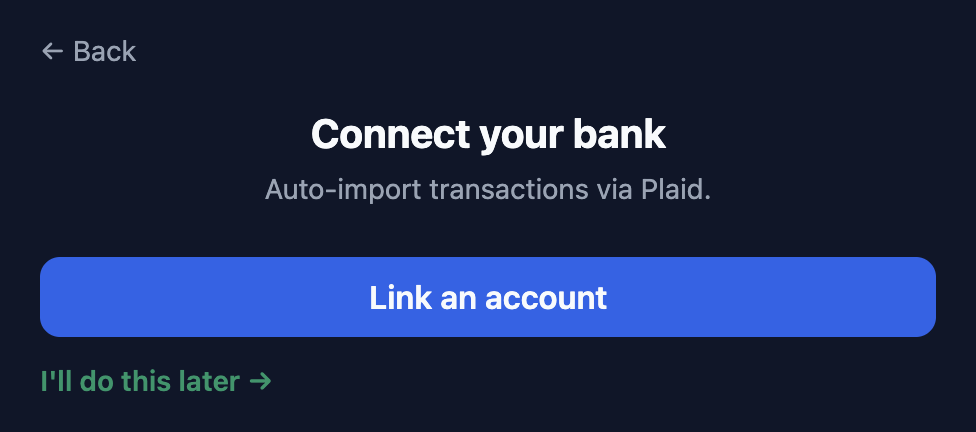
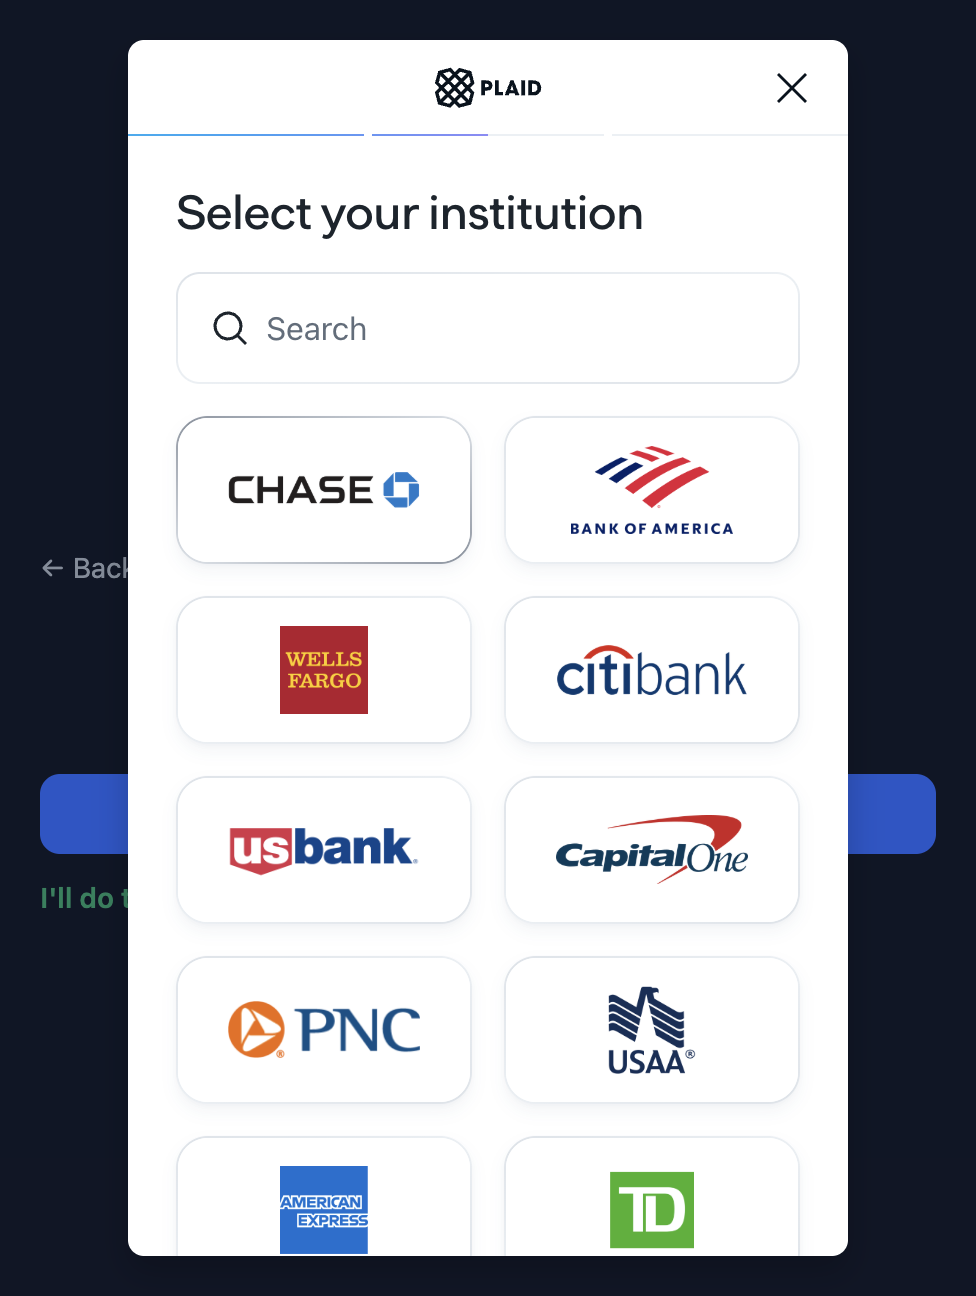
Step 4: Connect your bank (skippable)
Click Link an account to connect your bank through Plaid and auto-import transactions. In a hurry? Click I'll do this later and connect from the Banking page whenever you're ready.
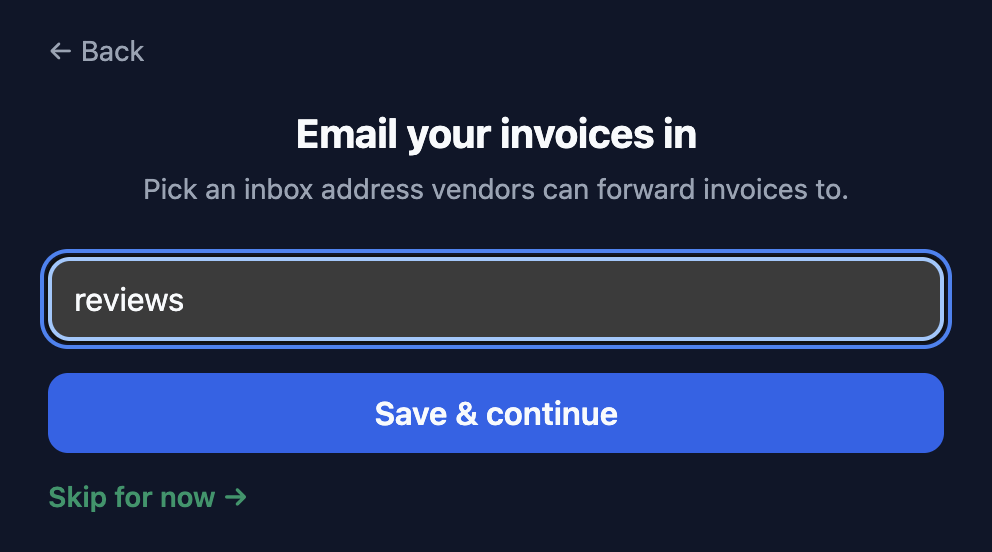
Step 5: Email-to-invoice (skippable)
Pick an inbox address vendors can forward invoices to (like your-company@inbound.bizdivers.com). Invoices sent there are read by AI and turned into draft records automatically. You can also set this up later under Settings → Email Ingestion.
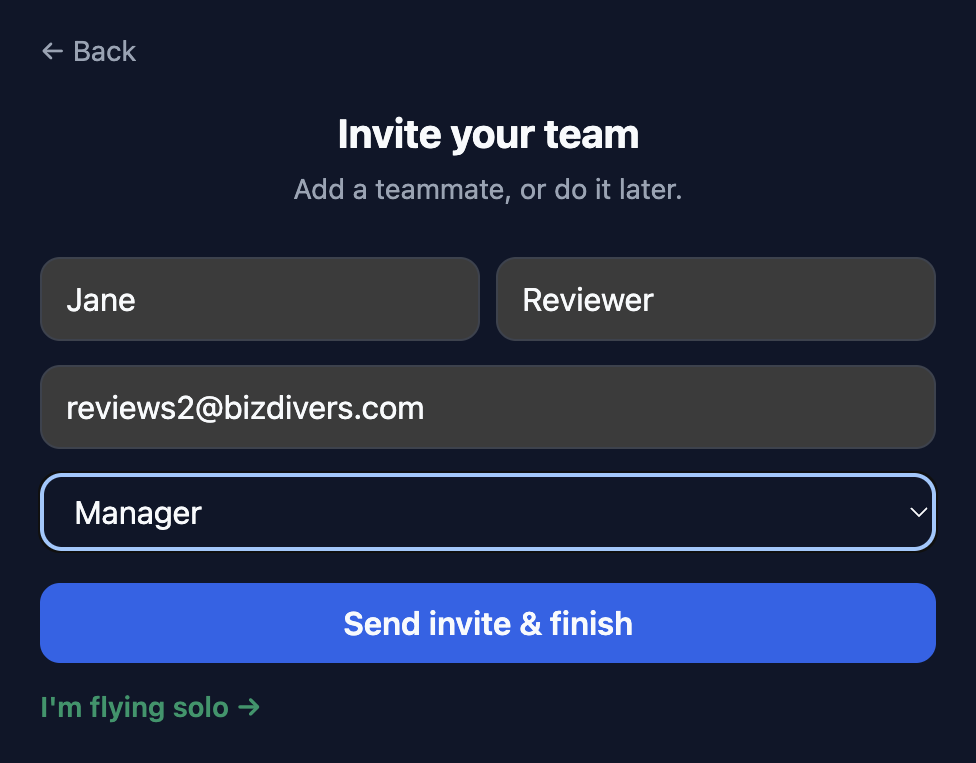
Step 6: Invite your team (skippable)
Add a teammate by name, email, and role, or click I'm flying solo and invite people later from Settings → Team.
You're all set
When you finish, your chart of accounts is already seeded and ready to go. Click Go to dashboard and start working. Anything you skipped has its own tutorial in this section.